This section will guide you through uploading custom fonts to your Elementor theme. For tutorial purposes, I am using the Isla theme.
Note:
• The Isla theme uses the Cresinta font, which is free for personal use and can be found here.
• The Lotta theme uses Altheyra, which is also available for personal sites here.
• The Kiara Lifestyle theme uses Shuvena Regular, which is also available for personal sites here.
Uploading Fonts
1. From your WordPress Dashboard, navigate to Elementor → Custom Fonts.
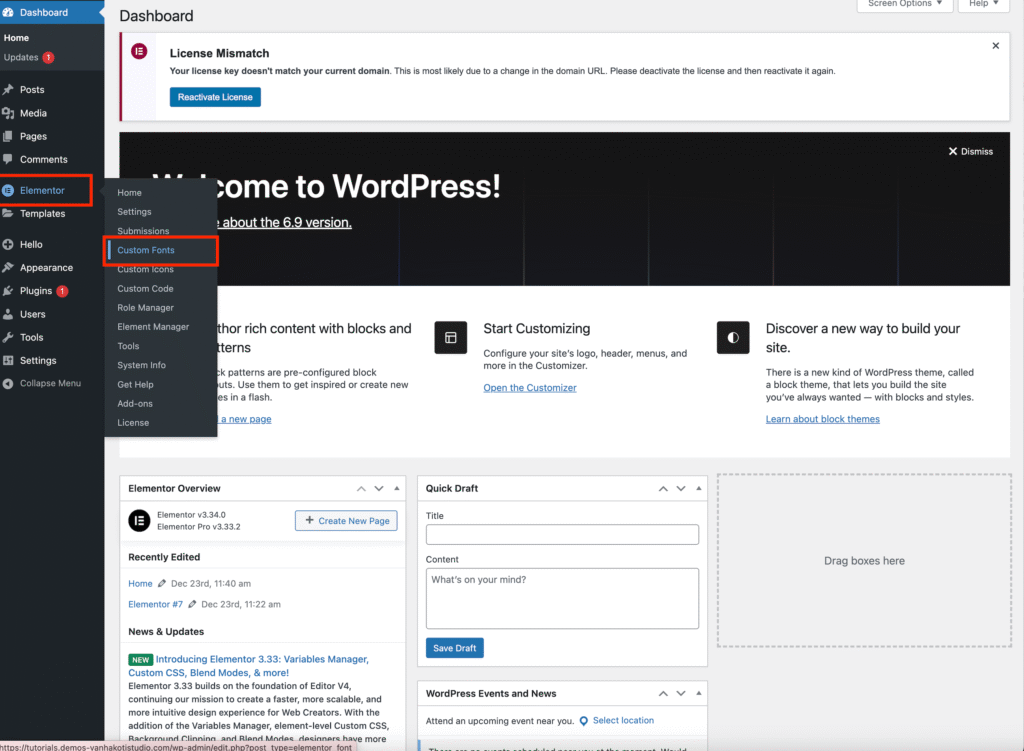
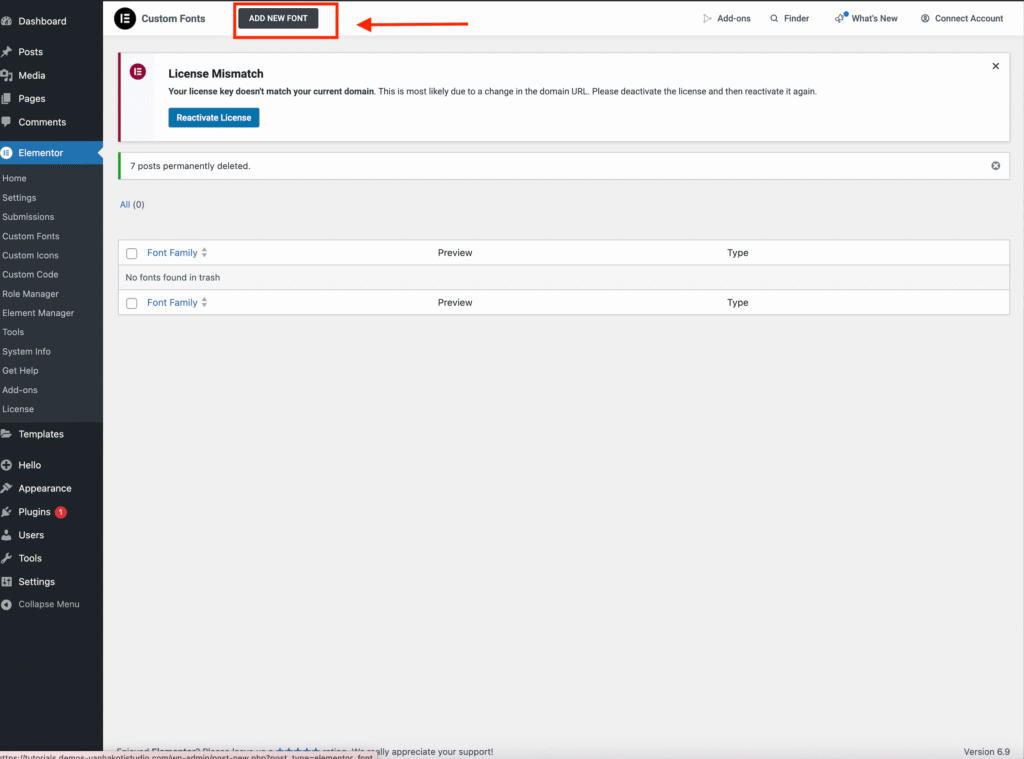
2. Click the Add New Font button.
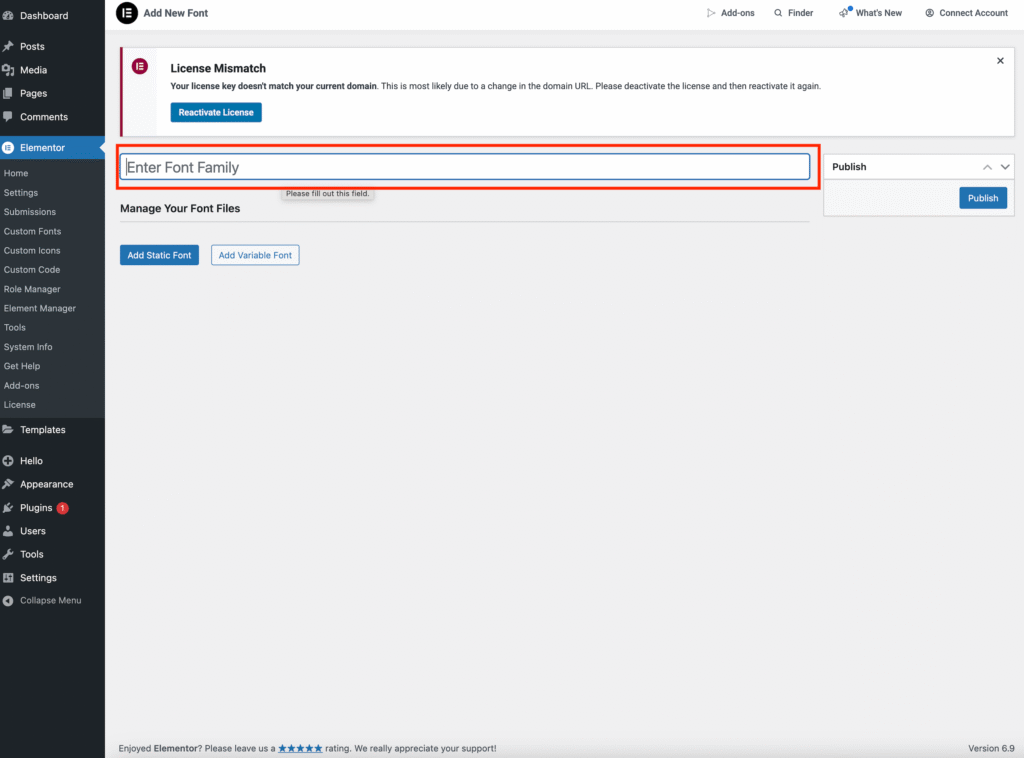
3. Enter the Font Family Name, which is the name of the font you purchased.
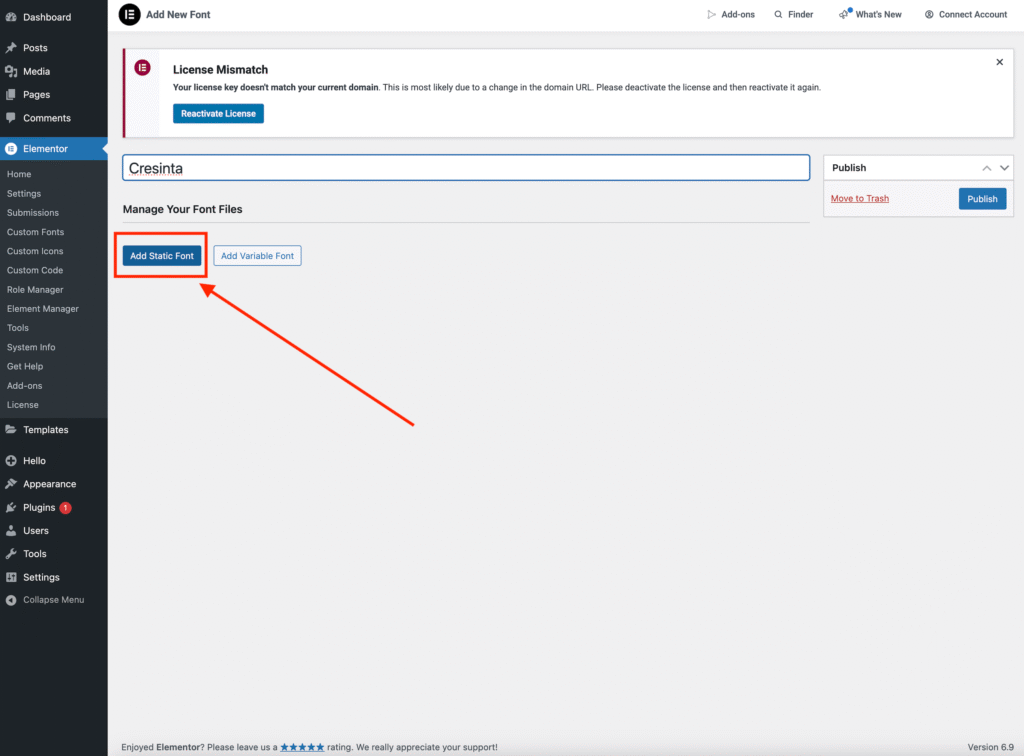
(For this tutorial, we are using the Cresinta font.)
Then click Add Static Fonts.
4. Upload both your .woff and .woff2 files by clicking the Upload button.
5. Click Publish.
Your uploaded fonts will now appear in the Fonts section within Elementor.

Important:
If your font files are not in .woff or .woff2 format, you will need to convert them first. You can find a guide to converting fonts here.