To upload any custom font , you’ll need Kadence Pro, which includes access to the Custom Fonts plugin. Get Kadence Pro Here.
Custom Fonts Used In Demos
- Alma Theme – TBJ MALTA , Free for personal use -Download here Handwriting Font – PALISADE Download here
- Meri Theme – THE LETTER EDITORIAL , Free for personal use – Download here
- Aurora Theme – BRIKEY MOURA , Free for personal use – Download here
- Hanna Theme – CUTIE SUGARY , Free for personal use – Download here
- Inkeri Theme – ALTHEYRA , Free for personal use – Download here
⸻
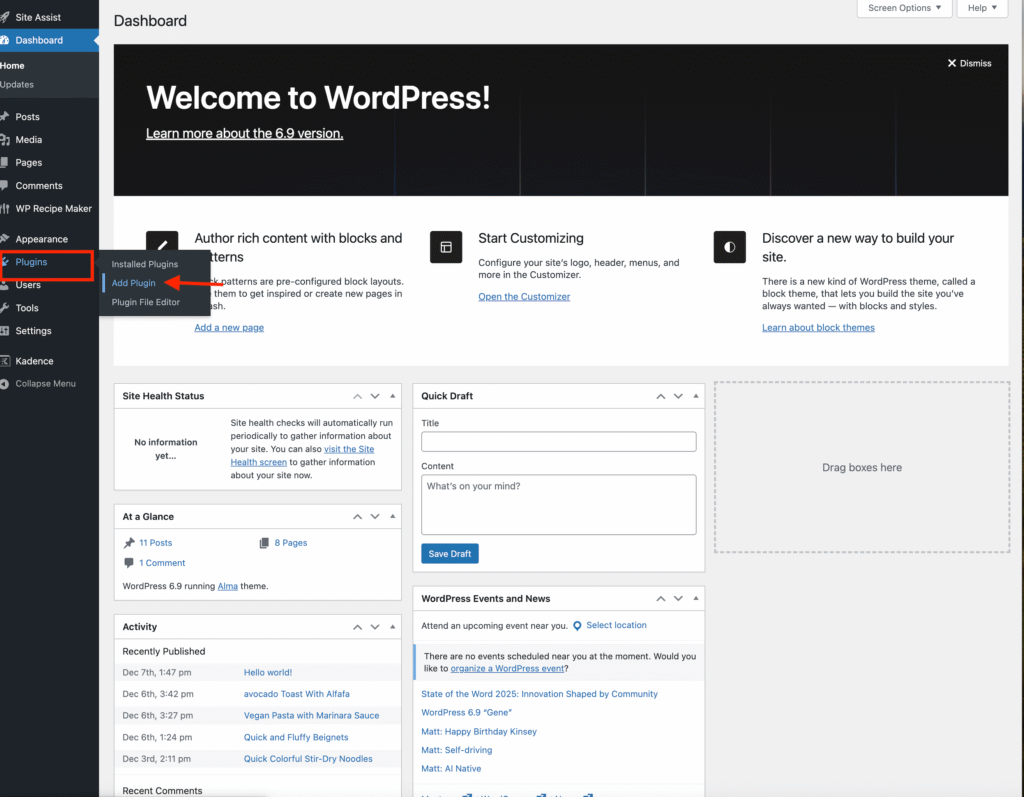
- Install the Custom Fonts Plugin
- In your WordPress dashboard, go to Plugins → Add Plugin.
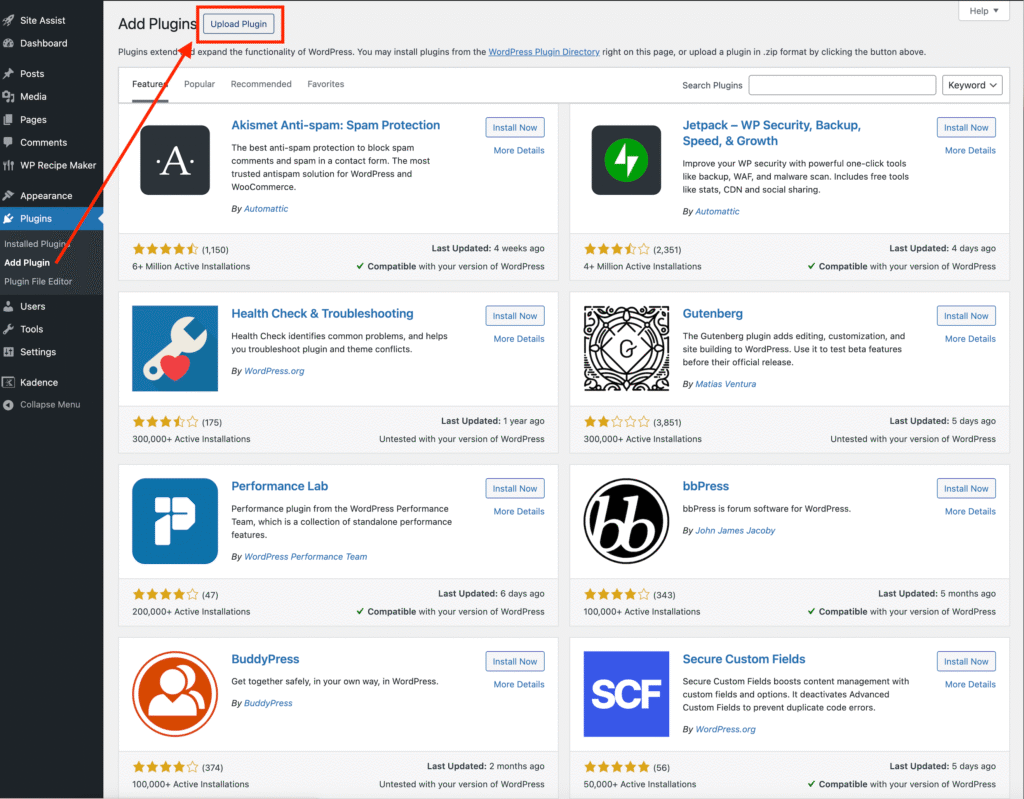
- Click Upload Plugin and select the Custom Fonts .zip file that came with your Kadence Pro purchase.
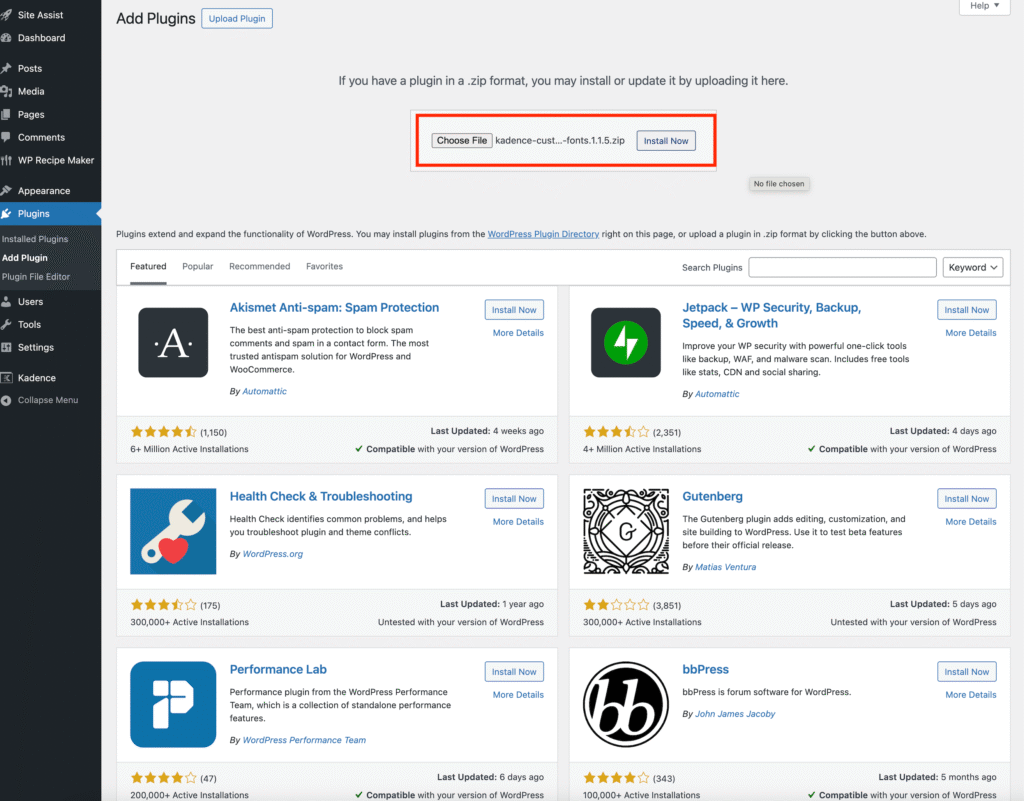
Click Install, then Activate.
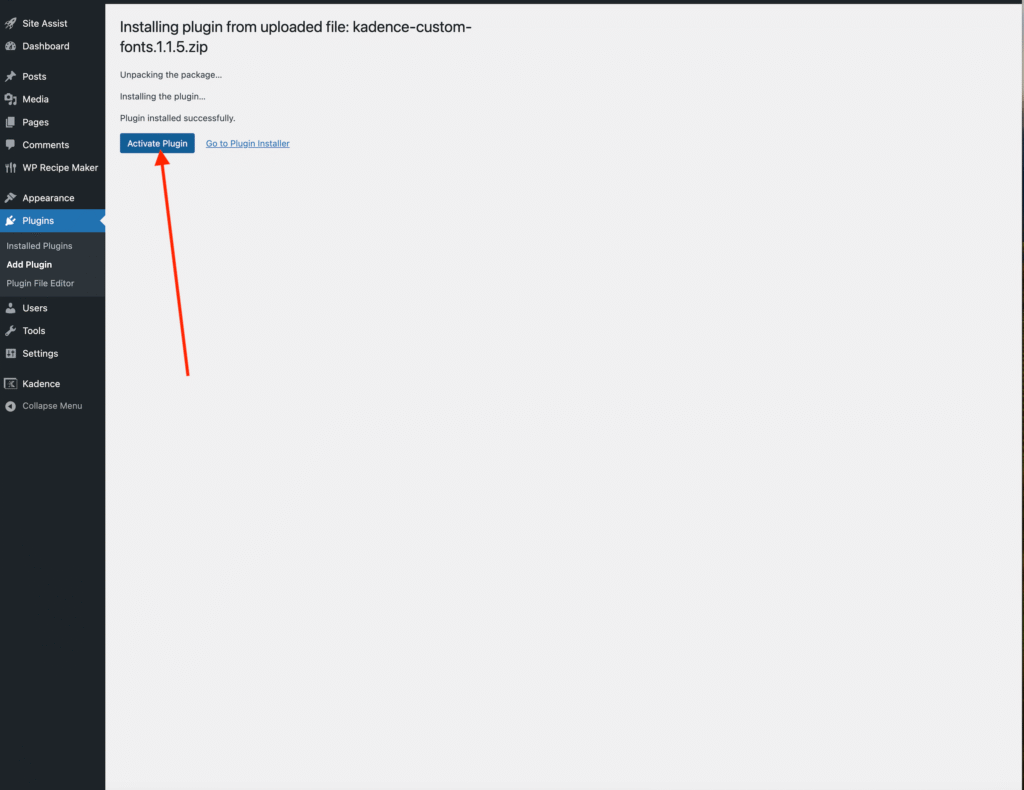
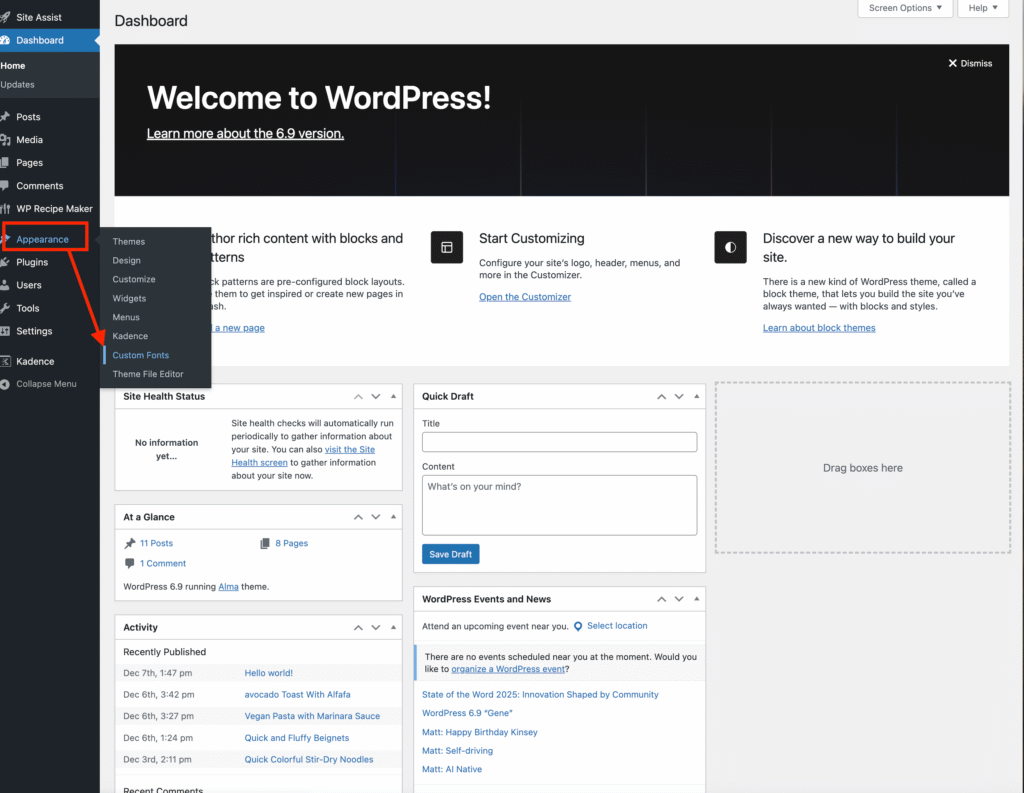
Once the plugin is active, go to Appearance → Custom Fonts in your WordPress dashboard.
- Add Your Font
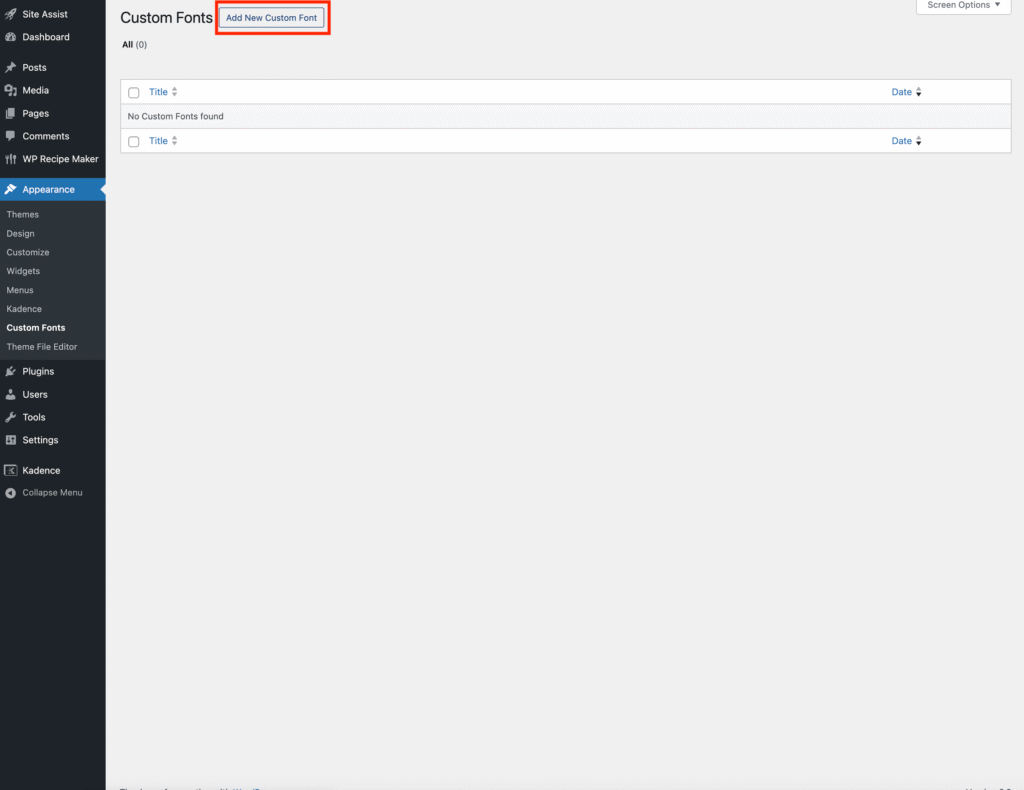
- Click Add Custom Font.
- Give your font a name in the Title field (I am using TBJ Malta).
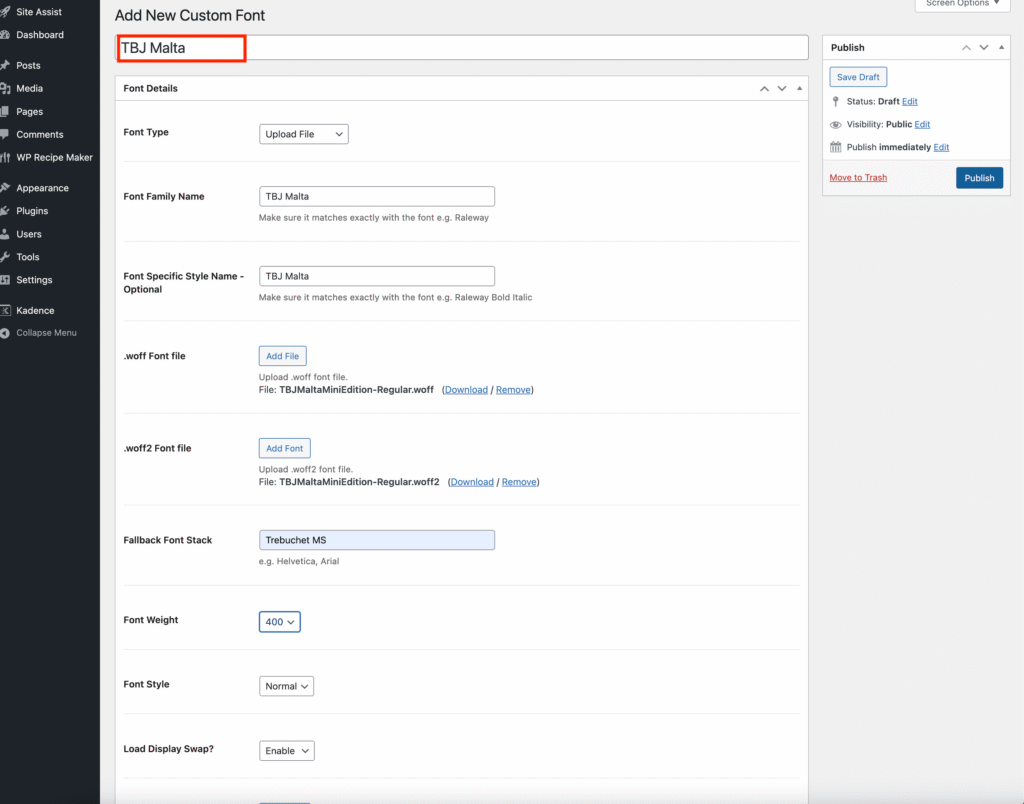
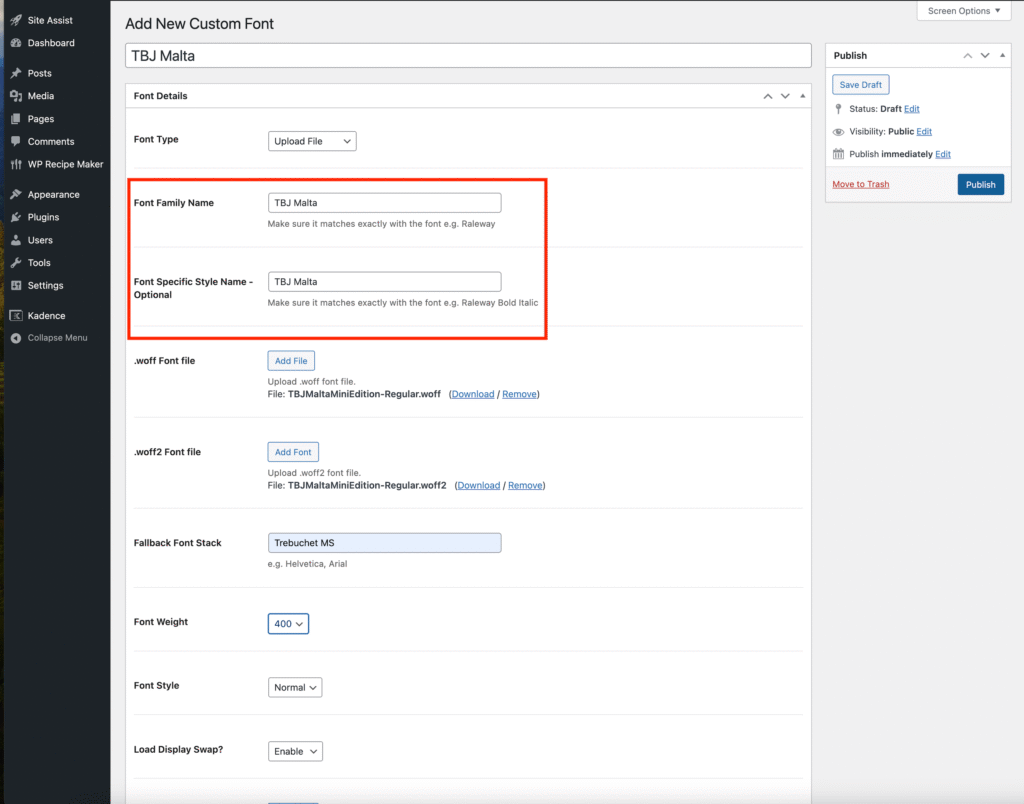
- For Font Family Name and Font Style, you can usually use the same name as the font you purchased unless the font provider specifies otherwise.
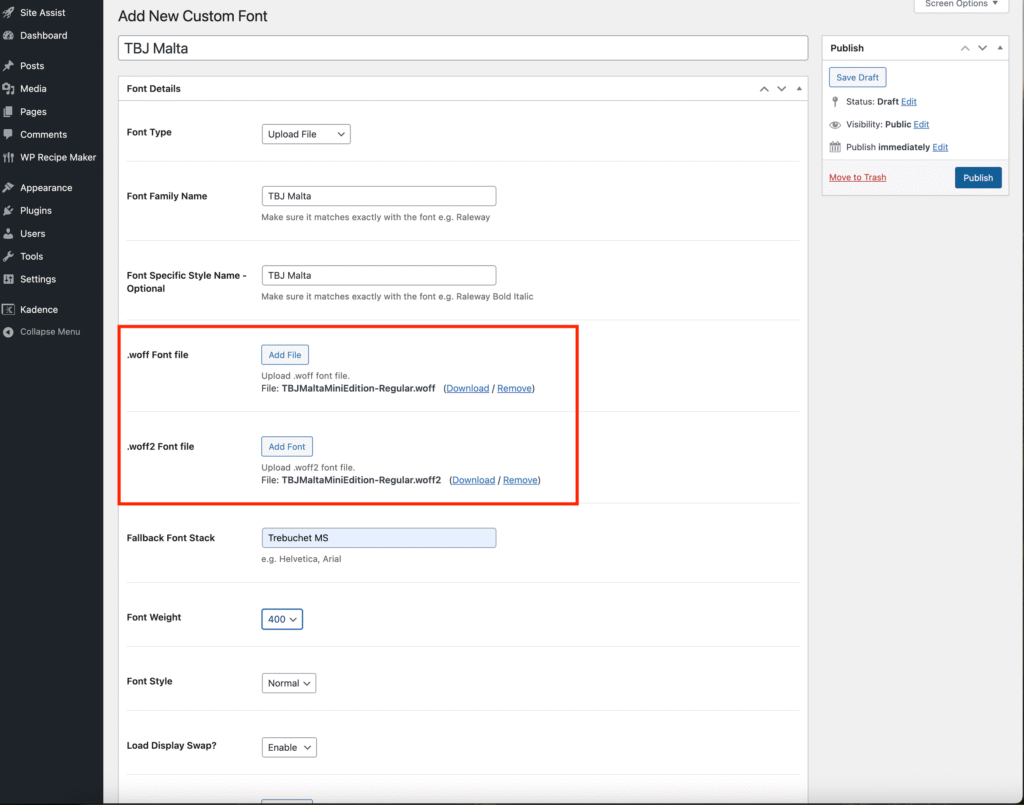
Your purchased font should include .woff and .woff2 files — these are the formats you’ll upload.
• Upload the .woff file into the WOFF field.
• Upload the .woff2 file into the WOFF2 field.
If your font only came in .otf or .ttf, you’ll need to convert them first.
Click here to learn how to convert your fonts to .woff/.woff2.
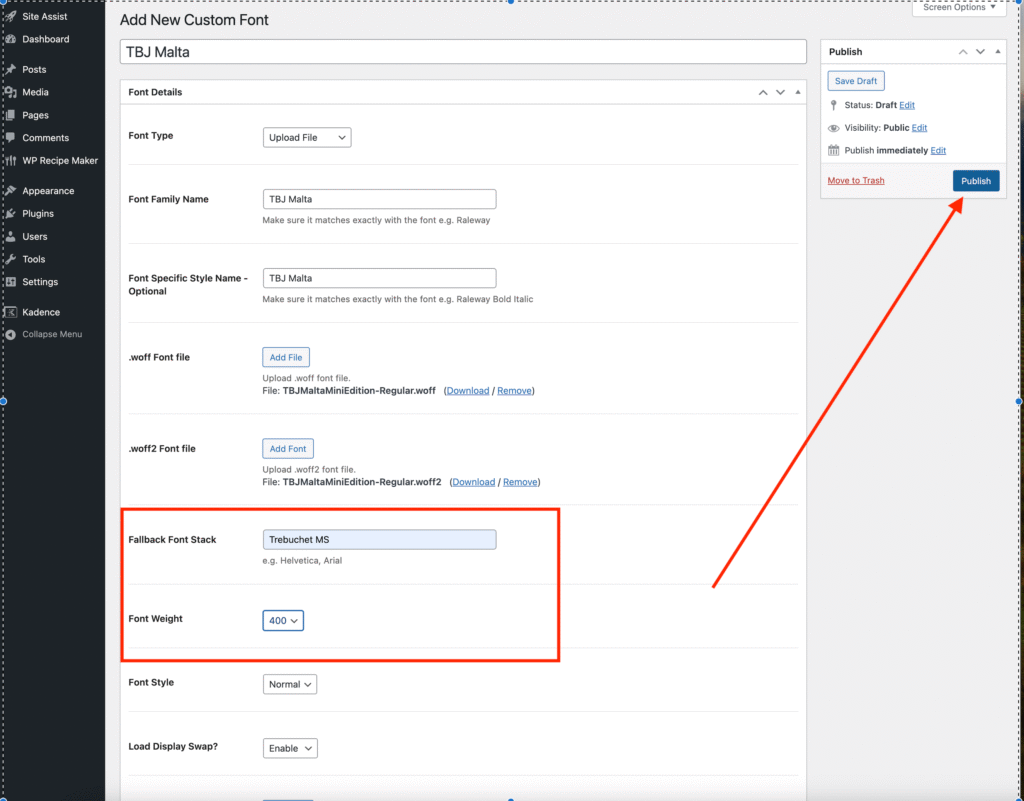
In the Fallback Font field, choose any Google Font you want your site to use if your custom font fails to load for any reason.
You can set a Font Weight if needed, or simply leave it at the default (400).
Click Publish when you’re done.
- You’re All Set
Your custom font will now appear in your font dropdowns across Kadence settings.
Click here to learn how to apply your new fonts to your website.