Skip to content

VANHA KOTI STUDIO

  • THEME SET UP & TUTORIALS
  • Submit A Ticket
VANHA KOTI STUDIO

Getting Started

1
  • Install Your Theme and Import Demo Content

Niina

13
  • Install Your Theme and Import Demo Content
  • Changing Website Colors
  • Changing the Logo
  • Changing Fonts
  • Styling Your Buttons
  • Editing Newsletter Form
  • Editing Shop My Favs / Affiliate Links Section
  • Editing and Customizing Menu
  • Editing The Footer
  • Customizing Blog Sidebar
  • How to Edit Blog Category Index
  • Editing Text, Replacing Images and Updating Button Links
  • Editing Header Section

Tilda

10
  • Install Your Theme and Import Demo Content
  • Changing Website Colors
  • Changing the Logo
  • Changing Fonts
  • Styling Your Buttons
  • Editing Newsletter Form
  • Editing and Customizing Menu
  • Editing The Footer
  • Editing Text, Replacing Images and Updating Button Links
  • Editing Header Section

Niina Lifestye

13
  • Install Your Theme and Import Demo Content
  • Changing Website Colors
  • Changing the Logo
  • Changing Fonts
  • Styling Your Buttons
  • Editing Newsletter Form
  • Editing Shop My Favs / Affiliate Links Section
  • Editing and Customizing Menu
  • Editing The Footer
  • Customizing Blog Sidebar
  • How to Edit Blog Category Index
  • Editing Text, Replacing Images and Updating Button Links
  • Editing Header Section

Susan

13
  • Install Your Theme and Import Demo Content
  • Changing Website Colors
  • Changing the Logo
  • Changing Fonts
  • Styling Your Buttons
  • Editing Newsletter Form
  • Editing Shop My Favs / Affiliate Links Section
  • Editing and Customizing Menu
  • Editing The Footer
  • Customizing Blog Sidebar
  • How to Edit Blog Category Index
  • Editing Text, Replacing Images and Updating Button Links
  • Editing Header Section

Enni

13
  • Install Your Theme and Import Demo Content
  • Changing Website Colors
  • Changing the Logo
  • Changing Fonts
  • Styling Your Buttons
  • Editing Newsletter Form
  • Editing Shop My Favs / Affiliate Links Section
  • Editing and Customizing Menu
  • Editing The Footer
  • Customizing Blog Sidebar
  • How to Edit Blog Category Index
  • Editing Text, Replacing Images and Updating Button Links
  • Editing Header Section

Sohvi

10
  • Install Your Theme and Import Demo Content
  • Changing Website Colors
  • Changing the Logo
  • Changing Fonts
  • Styling Your Buttons
  • Editing Newsletter Form
  • Editing and Customizing Menu
  • Editing The Footer
  • Editing Text, Replacing Images and Updating Button Links
  • Editing Header Section

Sohvi Dark

9
  • Install Your Theme and Import Demo Content
  • Changing Website Colors
  • Changing the Logo
  • Changing Fonts
  • Styling Your Buttons
  • Editing and Customizing Menu
  • Editing The Footer
  • Editing Text, Replacing Images and Updating Button Links
  • Editing Header Section

Sohvi Blog

13
  • Install Your Theme and Import Demo Content
  • Changing Website Colors
  • Changing the Logo
  • Changing Fonts
  • Styling Your Buttons
  • Editing Shop My Favs / Affiliate Links Section
  • Editing and Customizing Menu
  • Editing The Footer
  • Customizing Blog Sidebar
  • How to Edit Blog Category Index
  • Editing Text, Replacing Images and Updating Button Links
  • Editing Header Section
  • Editing Blog Category Tabs

Inkeri

11
  • Install Your Theme and Import Demo Content
  • Changing Website Colors
  • Changing the Logo
  • Changing Fonts
  • Styling Your Buttons
  • Editing and Customizing Menu
  • Editing The Footer
  • Editing Text, Replacing Images and Updating Button Links
  • Editing Header Section
  • Uploading Custom Fonts
  • Converting Fonts From OTF or TTF Files to WOFF

Hanna

10
  • Install Your Theme and Import Demo Content
  • Changing Website Colors
  • Changing the Logo
  • Changing Fonts
  • Styling Your Buttons
  • Editing and Customizing Menu
  • Editing The Footer
  • Editing Text, Replacing Images and Updating Button Links
  • Editing Header Section
  • Converting Fonts From OTF or TTF Files to WOFF

Aurora

15
  • Install Your Theme and Import Demo Content
  • Changing Website Colors
  • Changing the Logo
  • Changing Fonts
  • Styling Your Buttons
  • Editing Newsletter Form
  • Editing Shop My Favs / Affiliate Links Section
  • Editing and Customizing Menu
  • Editing The Footer
  • Customizing Blog Sidebar
  • Editing Text, Replacing Images and Updating Button Links
  • Editing Header Section
  • Editing Blog Category Tabs
  • Uploading Custom Fonts
  • Converting Fonts From OTF or TTF Files to WOFF

Meri

13
  • Install Your Theme and Import Demo Content
  • Changing Website Colors
  • Changing the Logo
  • Changing Fonts
  • Styling Your Buttons
  • Editing and Customizing Menu
  • Editing The Footer
  • Editing Text, Replacing Images and Updating Button Links
  • Editing Header Section
  • Uploading Custom Fonts
  • Converting Fonts From OTF or TTF Files to WOFF
  • Duplicating Single Portfolio Page
  • Editing Homepage Services Section

Alma

13
  • Install Your Theme and Import Demo Content
  • Changing Website Colors
  • Changing the Logo
  • Changing Fonts
  • Styling Your Buttons
  • Editing Shop My Favs / Affiliate Links Section
  • Editing and Customizing Menu
  • Customizing Blog Sidebar
  • Editing Text, Replacing Images and Updating Button Links
  • Editing Header Section
  • Editing Blog Category Tabs
  • Uploading Custom Fonts
  • Converting Fonts From OTF or TTF Files to WOFF

Lotta

5
  • Install Your Theme & Import Demo Content
  • Changing Colors & Fonts
  • Editing Text & Replacing Images
  • Uploading Custom Fonts
  • Uploading Logo & Favicon

Isla

5
  • Install Your Theme & Import Demo Content
  • Changing Colors & Fonts
  • Editing Text & Replacing Images
  • Uploading Custom Fonts
  • Uploading Logo & Favicon

Kiara Lifestyle

5
  • Install Your Theme & Import Demo Content
  • Changing Colors & Fonts
  • Editing Text & Replacing Images
  • Uploading Custom Fonts
  • Uploading Logo & Favicon
  • Home
  • support
  • Aurora
  • Editing Newsletter Form
View Categories

Editing Newsletter Form

The newsletter form allows you to collect emails from your visitors and connect them to your email provider. This tutorial applies to all the newsletter forms in VANHA KOTI THEMES. Follow these steps to customize it for your website:

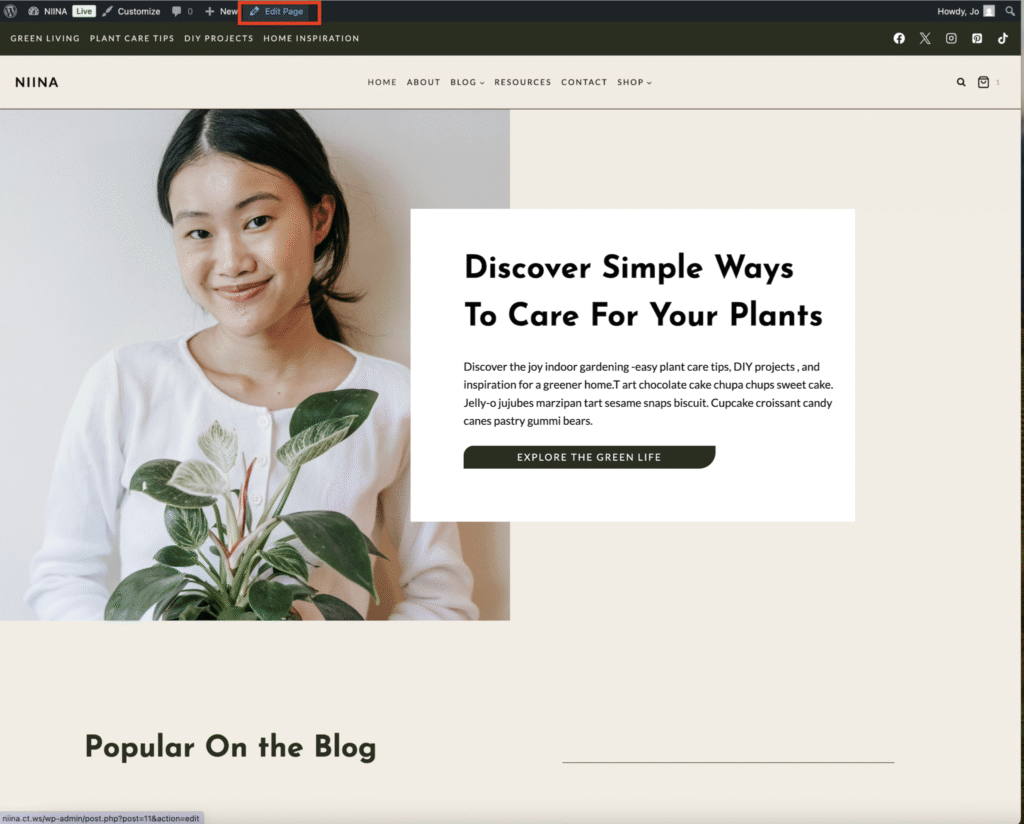
To access the Form Go to your website’s homepage and click the Edit Page button.

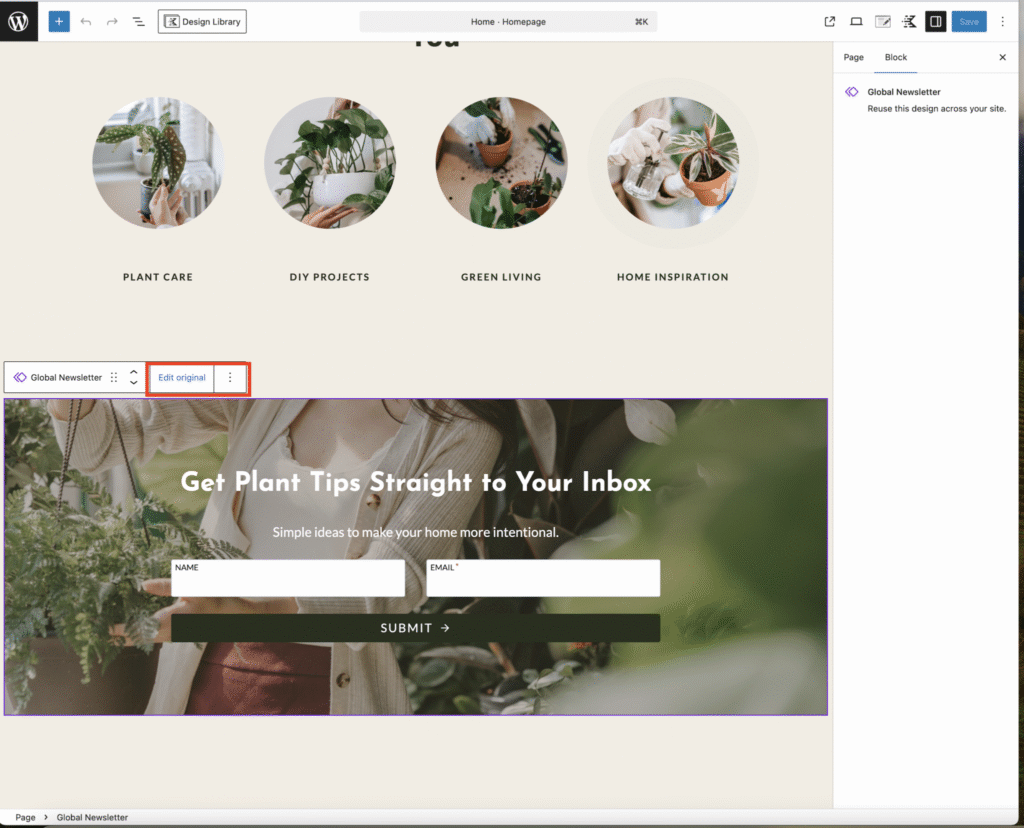
Scroll down to the newsletter form and click on it. You’ll notice the Global Newsletter Label — this means any changes you make here will apply across your entire website wherever the newsletter form appears.

Click Edit Original to start editing.

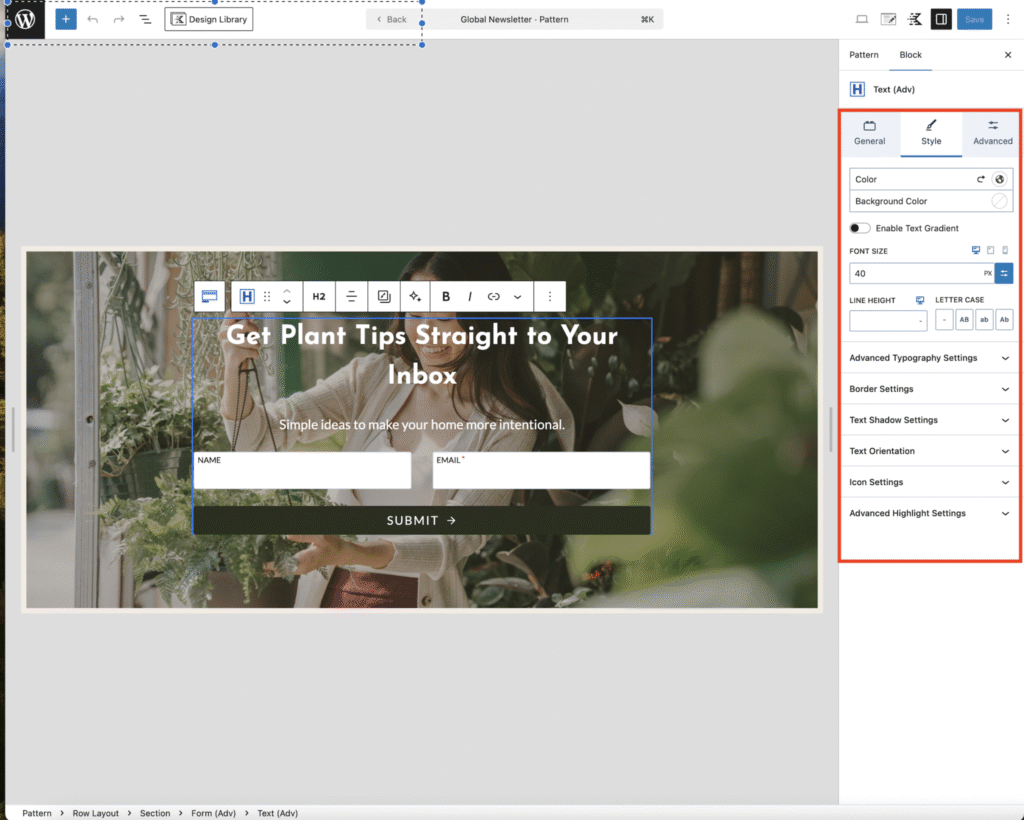
To edit the text Heading

• Click on the filler text in the heading to delete it and type your own.

• On the right-hand sidebar, you can adjust the below options by clicking on the style tab:

• Text color

• Fonts and fonts size – in advanced typography tab or leave it as is for it to inherit the default fonts you set up for your website

• There are many customization options — feel free to experiment to find a style that fits your website.

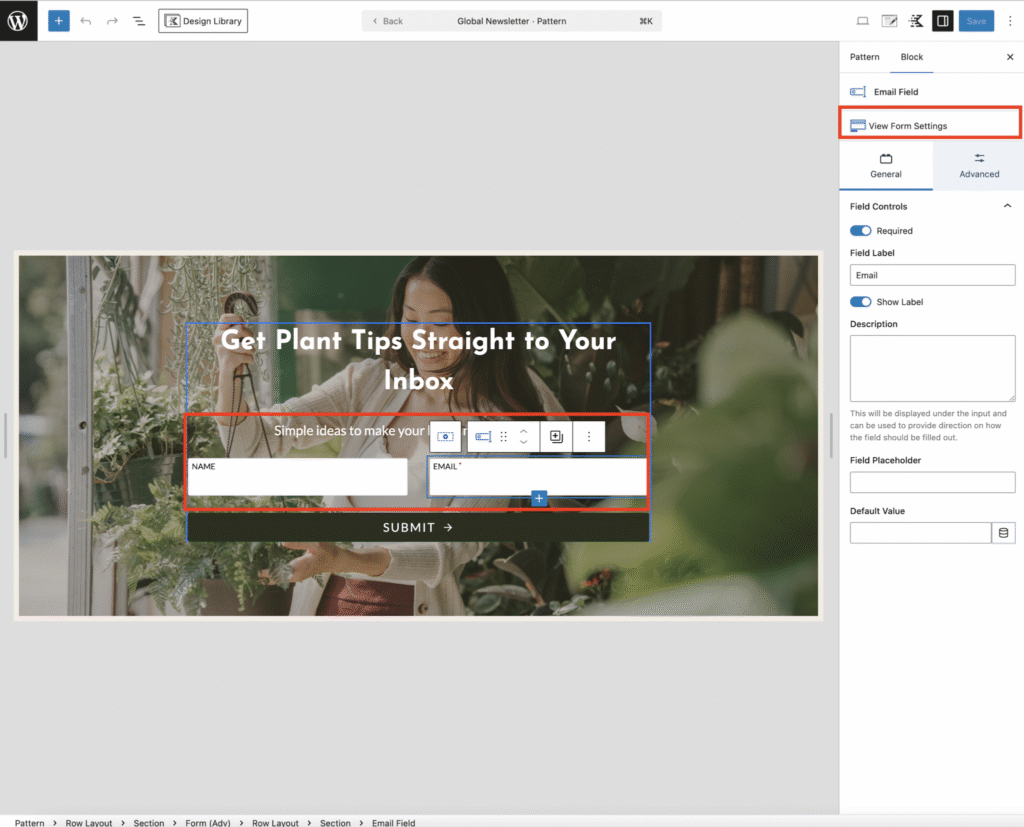
To Customize the Form Click on any area of the form to open the customization options on the right.

Click View Form settings.

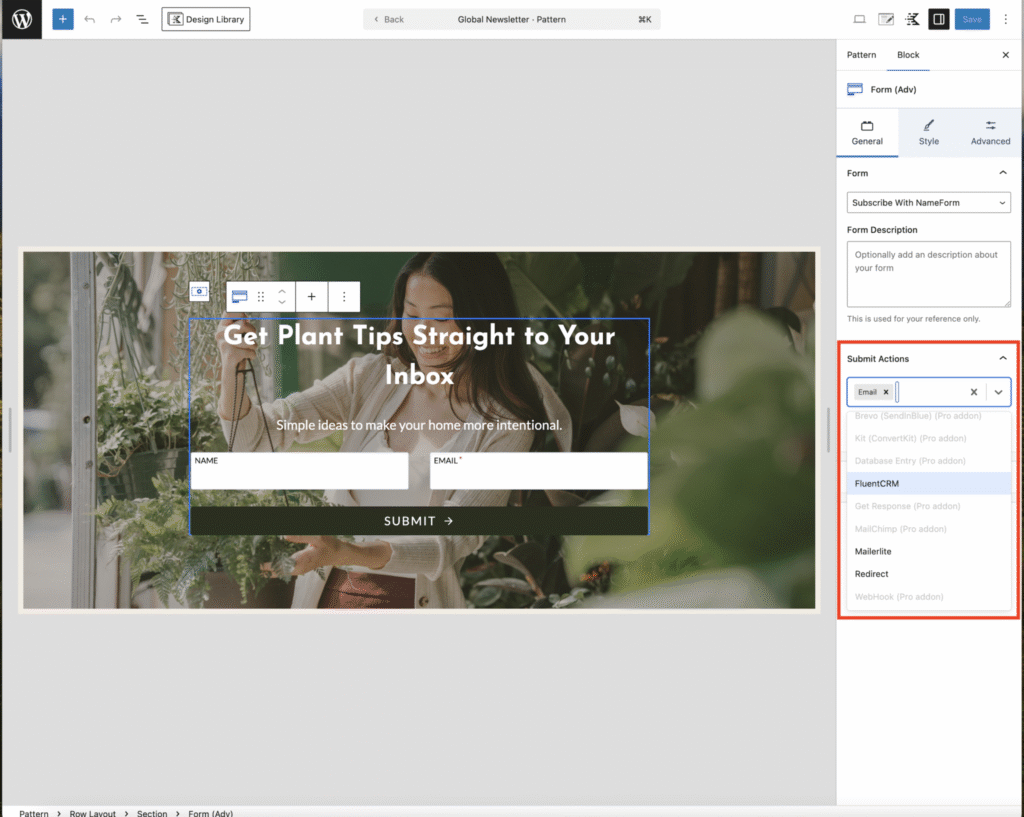
• Set Submit Actions (what the form does after someone types in their email) — email is selected by default .

Click the arrow next to email to select your email marketing provider.

• Free email options include Redirect, FluentCRM, MailerLite if you dont use any of this providers you may need to upgrade your plan.

• Check the drop down options to see if your provider is listed before upgrading your plan to gain access to connect your provider.

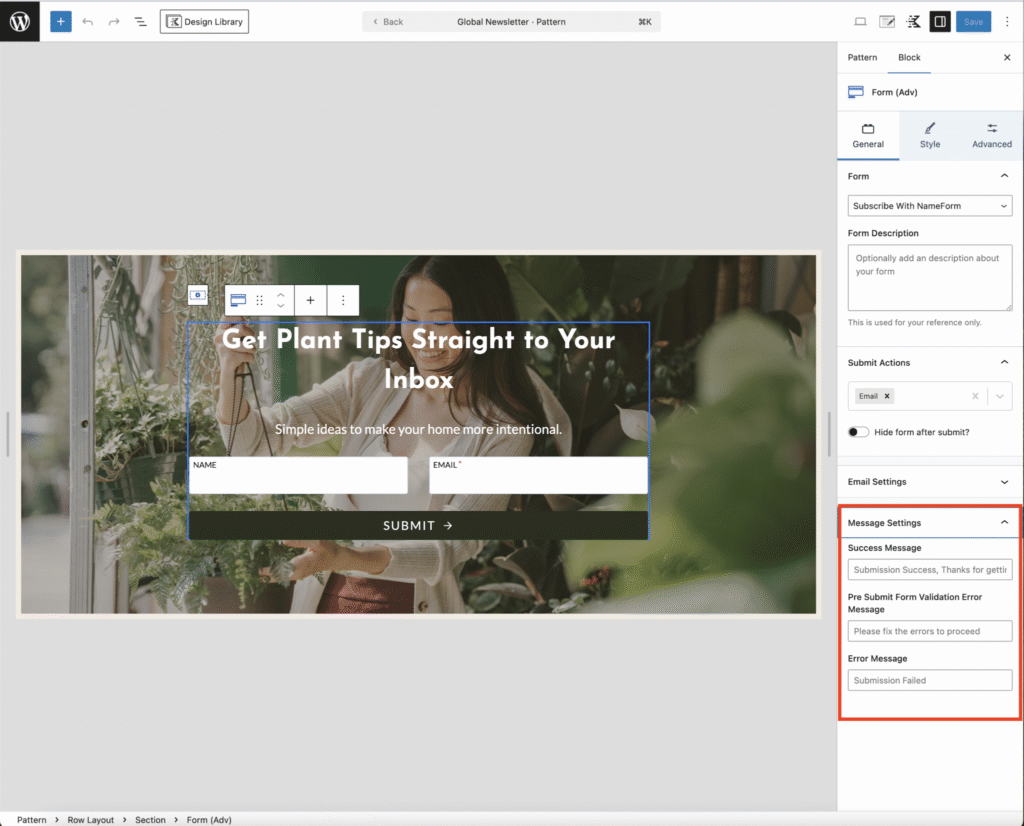
To edit Message Settings ( what happens after a successful subscription or an error).

• Success Message: Text displayed after a successful email submission.

• Pre-Submit Message: Text shown if input is invalid.

• Error Message: Text shown when an error occurs.

Most of these are prefilled and don’t need changing unless you want custom messages displayed.

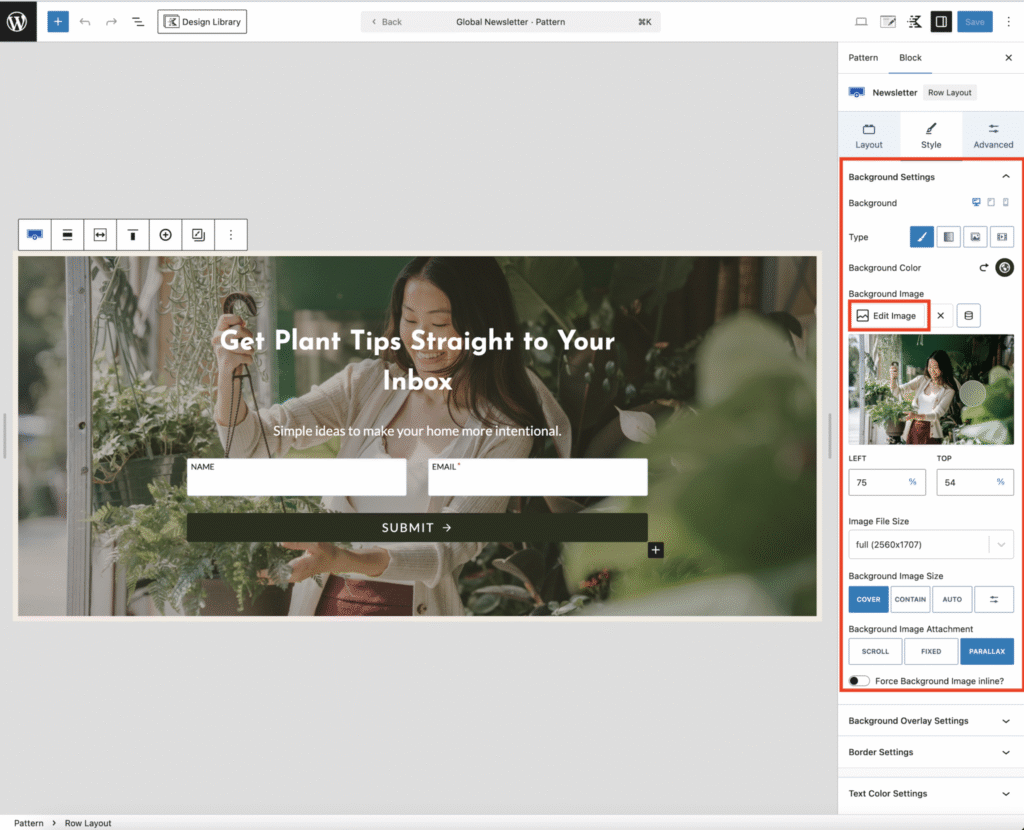
To change the Form Image Background Click on the form’s background image. In the right-hand sidebar, go to the Style tab

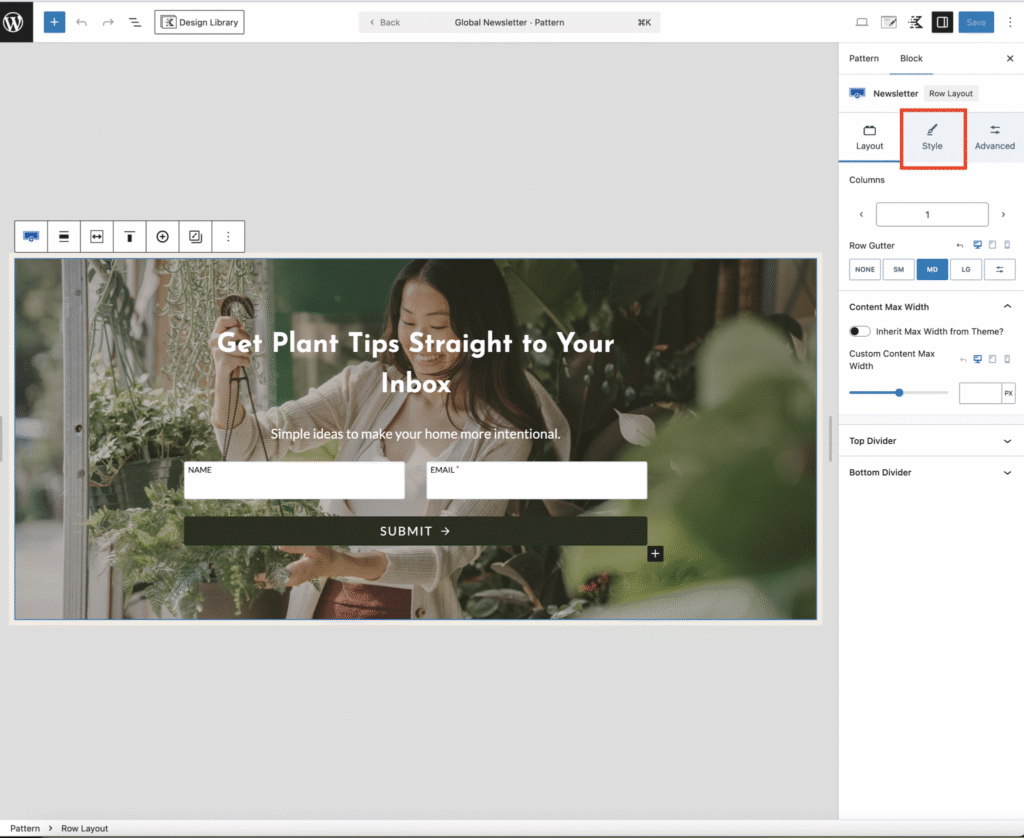
click Edit Image to replace it with your own.

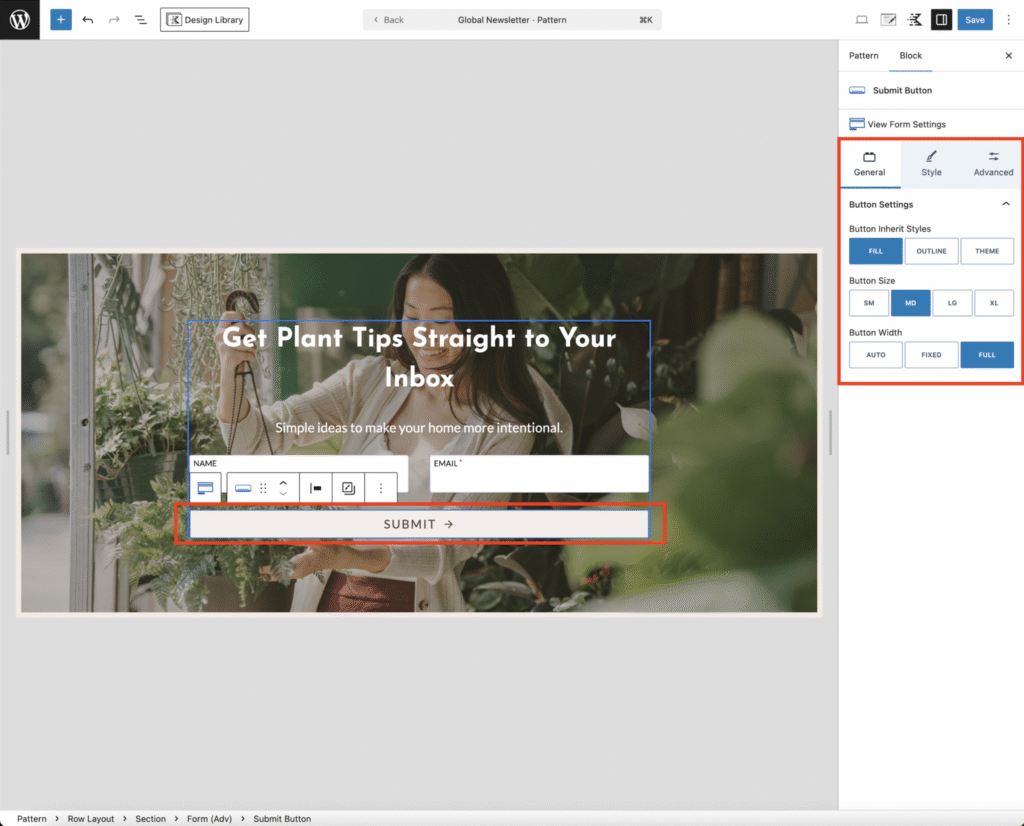
To edit the submit button click on text to open the customization options in the sidebar,

• You can set the button size and width, you can also change the text by clicking on the button and replacing the text with yours.

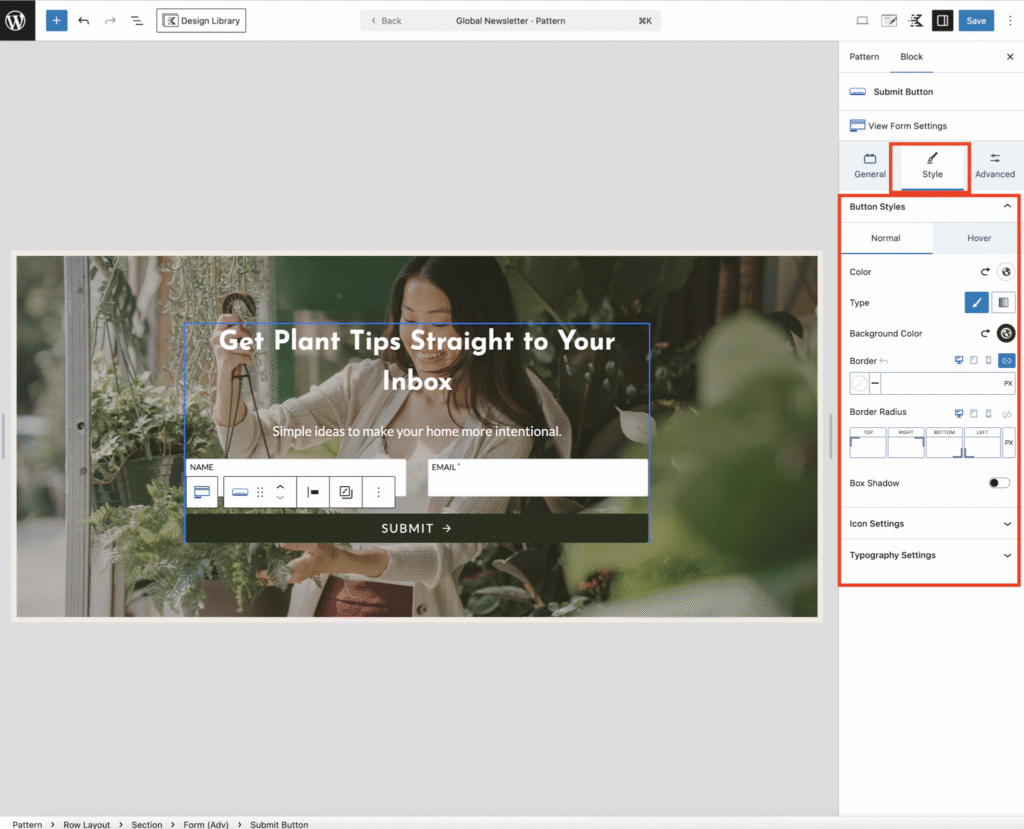
• Click the style tab to view further editing details including button text color, background and many more.
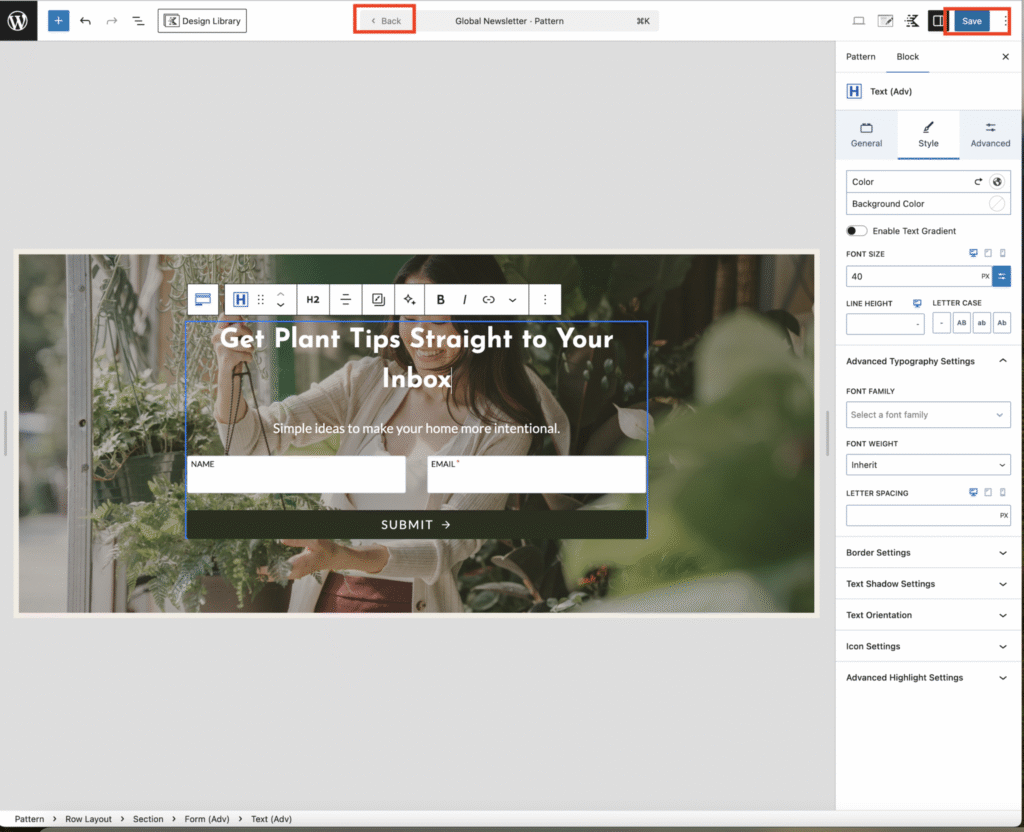
Save Your Changes•

Click Save to update the changes.

• Use the Back button to return to the previous page after saving your changes.

Quick Visual Walkthrough

Editing Text, Replacing Images and Updating Button Links

Leave a Reply Cancel reply

Your email address will not be published. Required fields are marked *

COPYRIGHT §2025 VANHA KOTI STUDIO

  • THEME SET UP & TUTORIALS
  • Submit A Ticket